
Moving a robot around with LEGO Mindstorms
PROJECT INFORMATION |
|
INSTITUTION NAME |
“Constantin Ianculescu” High School |
ESTIMATED DURATION |
10 h |
AGE OF KIDS ADRESSED |
10-13 years old |
MATERIALS |
lego pieces, robot, PC, USB cables, cardboard, colored pencils |
TECHNOLOGY |
robot, internet, , online, USB cables |
Nº OF STUDENTS |
six groups of two students each |
Nº OF STUDENTS/TEACHER |
six students / teacher |
Nº OF STUDENTS/RESOURCE |
two students / computer |
CODING ACTIVITY GOAL
|
To learn and understand geometrical shapes.
|
SPECIAL REQUIREMENTS |
||
Knowledge level |
Skills required |
|
Teacher |
Programming (basic-medium level) |
none |
Student |
Basic skills on the PC use |
none |
To take into account |
Programming skills are preferable for the teachers.The teacher will need at least five robots in order to carry out the activity |
|
PROJECT DESCRIPTION
Building the robot from small lego pieces.
Programming the robot to trace geometrical shapes which were previously drawn on large sheets of cardboard.
STEPS TO FOLLOW TO CARRY OUT THE ACTIVITY
Step 1: The students were organized into six small groups of two children each. Each group built a certain part of the robot (arms, legs, body, head) and another group put all its parts together.
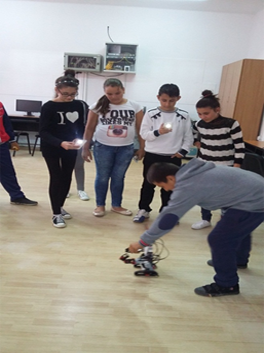
Step 2: The students drew three geometrical shapes (rectangular, triangle, circle) on three large sheets of paper. Then they placed their drawings and stuck them onto the floor.
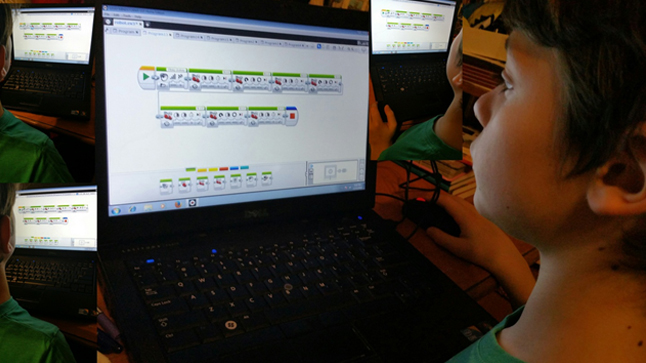
Step 3: The teacher showed the students where and how to download the program to be able to work with the robot.
We had only one robot and the students couldn’t work all at the same time. We chose a team of two students and let them program the robot. After they had managed to program the robot this team of students helped the other five teams understand how the robot can be programmed.
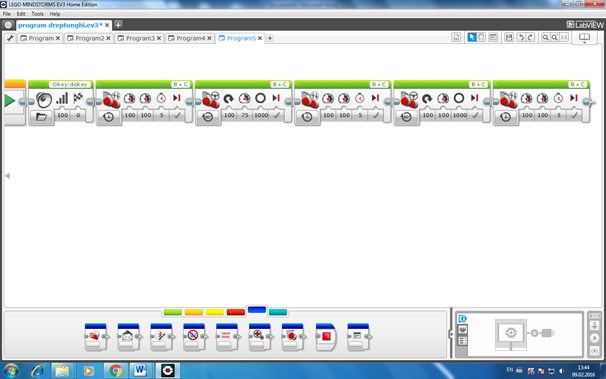
Step 4: At first they had created a new program and named it. Each team named the same program differently.
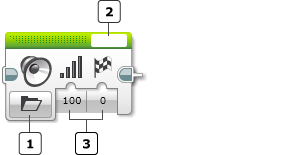
4.1
1 Mode Selector We selected the sound we wanted
2 File Name input-They have chosen the right words for the robot to say from a list of sounds effects3 3
3 Inputs- They chose a maximum percentage of volume
4.2 Blocul Move tank
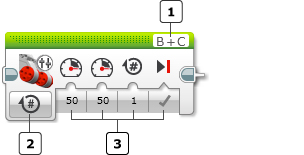
1 Port Selector
2 Mode Selector
3 Inputs
Select the two motors (A, B, C, or D) that you want the Move Tank block to control by using the Port Selector on the top of the block. Click on each motor letter to choose the port for that motor. The first port should be the motor on the left side of the vehicle, and the second port should be the motor on the right side.
They used the Move Steering Block which was connected to the B and C motor which is the tracks of the robot. ( on the Steering Block They can choose the direction by changing the steering perimeter, they can choose the power and also the duration-how long it should drive).
The power of the tracks was set to maximum speed 100, straight ahead, to the left 100.
The power of the tracks was set to the right to maximum speed 100 „Power Right”.
The duration was set to five seconds.
The tracks had to stop when the movement was finished, „Brake at End”: True
So this block carried out the command to move straight ahead, at full speed for five seconds.
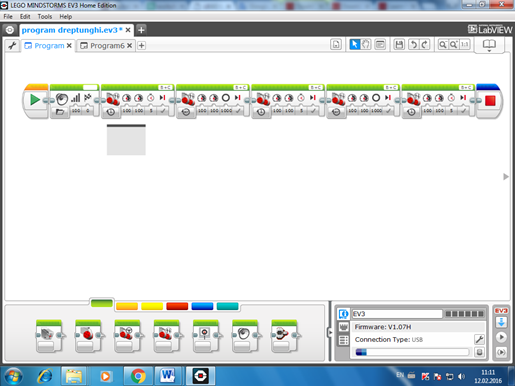
Step 5: Move steering – On For Degrees

On for Degrees turns both motors on, waits until one of them has turned for the number of degrees of rotation in the Degrees input, and then turns both motors off. This can be used to make your robot travel a specific distance or turn a specific amount. 360 degrees of rotation corresponds to one full turn of a motor.
You can control the speed and direction of your robot using the Power and Steering inputs. Use Brake at End to stop your robot after exactly the specified number of degrees.
The block „Steering Move” from „Action” was set to perform the following command: the robot had to turn to right with an angle of 90 degrees.
After adding this block the robot steers 90 degrees and goes on the the width of the rectangle. By adding this block more than one time the robot will follow the route of the rectangle.
The steering wheel had to stop when the movement was finished: „Brake at End”: True
Step 6: After they have carried out this program the students transferred it with a USB cable in a robot.
Expand/ Collapse
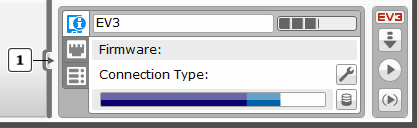
DOWNLOADING A PROGRAM – PROGRAMMING MODE
When your program is ready, you can download it to your EV3 Brick.
Ensure that the EV3 Brick is switched on and connected to the computer. The connection can be via a USB Cable, Bluetooth, or Wi-Fi. See Connecting to your EV3 Brick.
System requirements PC with Microsoft Windows
• Windows XP (32 bit only) and Vista (32/64 bit) excluding Starter Edition – with the latest Service Packs. Windows 7 (32/64 bit) and Windows 8 desktop mode including Starter Edition – with the latest Service packs
• Dual core processor 2.0 GHz or better
• 2GB of RAM or more
• 2GB of available hard-disk space
• XGA display (1024 x 768)
• 1 available USB port
System requirements Apple Macintosh with OS X
• Mac OS 10.6, 10.7 and 10.8 with the latest Service packs
• Dual core processor 2.0 GHz or better
• 2GB of RAM or more
• 2GB of available hard-disk space
• XGA display (1024 x 768)
• 1 available USB port
• Once you have confirmed that your computer meets the minimum system requirements, you are ready to install the software. Close all other programs, then double click on the installation file in the EV3 Software application folder. Installation will now begin.
FOTOS/VIDEOS OF THE ACTIVITY
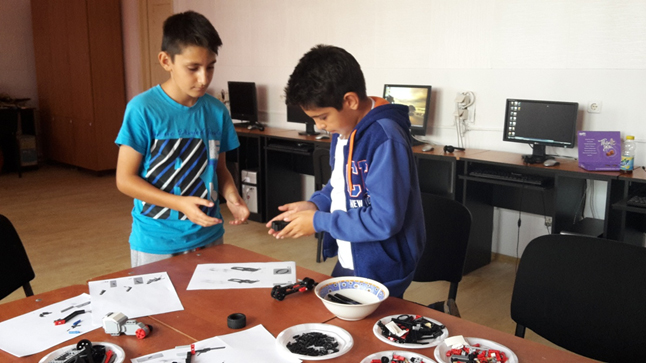
6th graders students were divided into groups of two children each and were asked to build the robot parts as the robot came in many small pieces
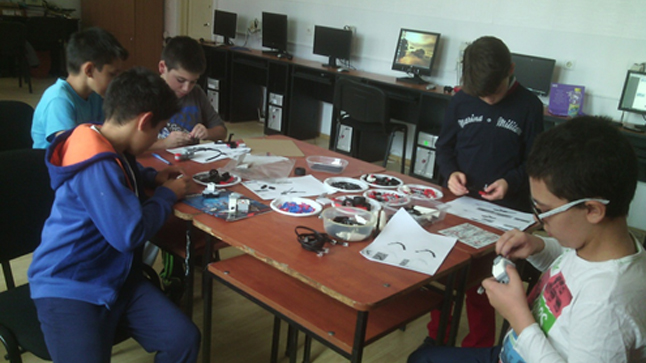
They were studying the pictures that came with the robot and working at building it.
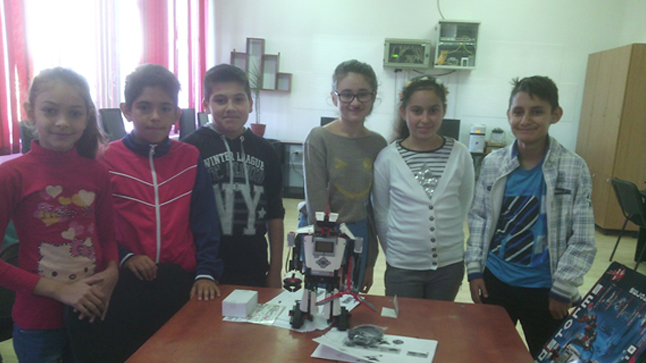
This is the robot after they have assembled all the parts each team has build.
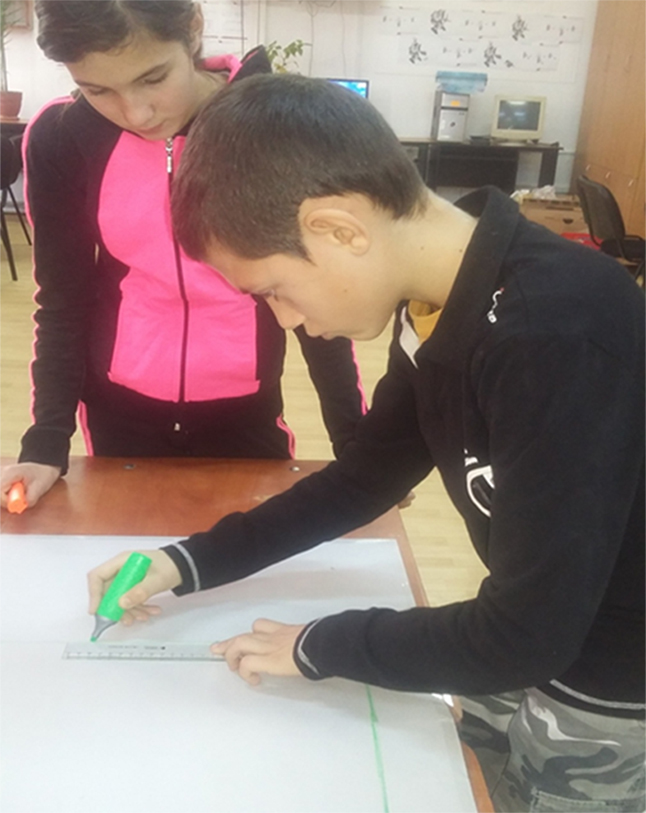
They were drawing the geometrical shapes which had to be used in the Lego Mind storm Robot coding activity
Start programming the robot!!!
1. Add the sound and make the robot say something.

2. Add the block “Move Tank” and make the robot move straight ahead at full speed for five minutes, then stop and take the command of the other block and follow the length of the rectangle.
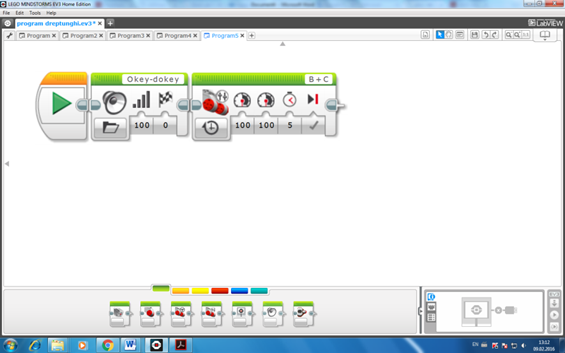
3. Add the third block and make the robot steer 90 degrees and also trace the width of the rectangle.

4. Add the same blocks and the robot will follow the path of a rectangle.
5. The last block is the block named “Stop Program”.

6. Transfer the program from your PC to the robot by using USB cable
The robot is moving.
LINKS RELATED TO THE PROJECT
http://www.lego.com/en-us/mindstorms/learn-to-program
http://www.lego.com/en-us/mindstorms/downloads/user-guide

